BenzUnited Parts
C63s C63 M177 OEM+ Cold Air Intake Spacer Upgrade Kit
C63s C63 M177 OEM+ Cold Air Intake Spacer Upgrade Kit
Couldn't load pickup availability
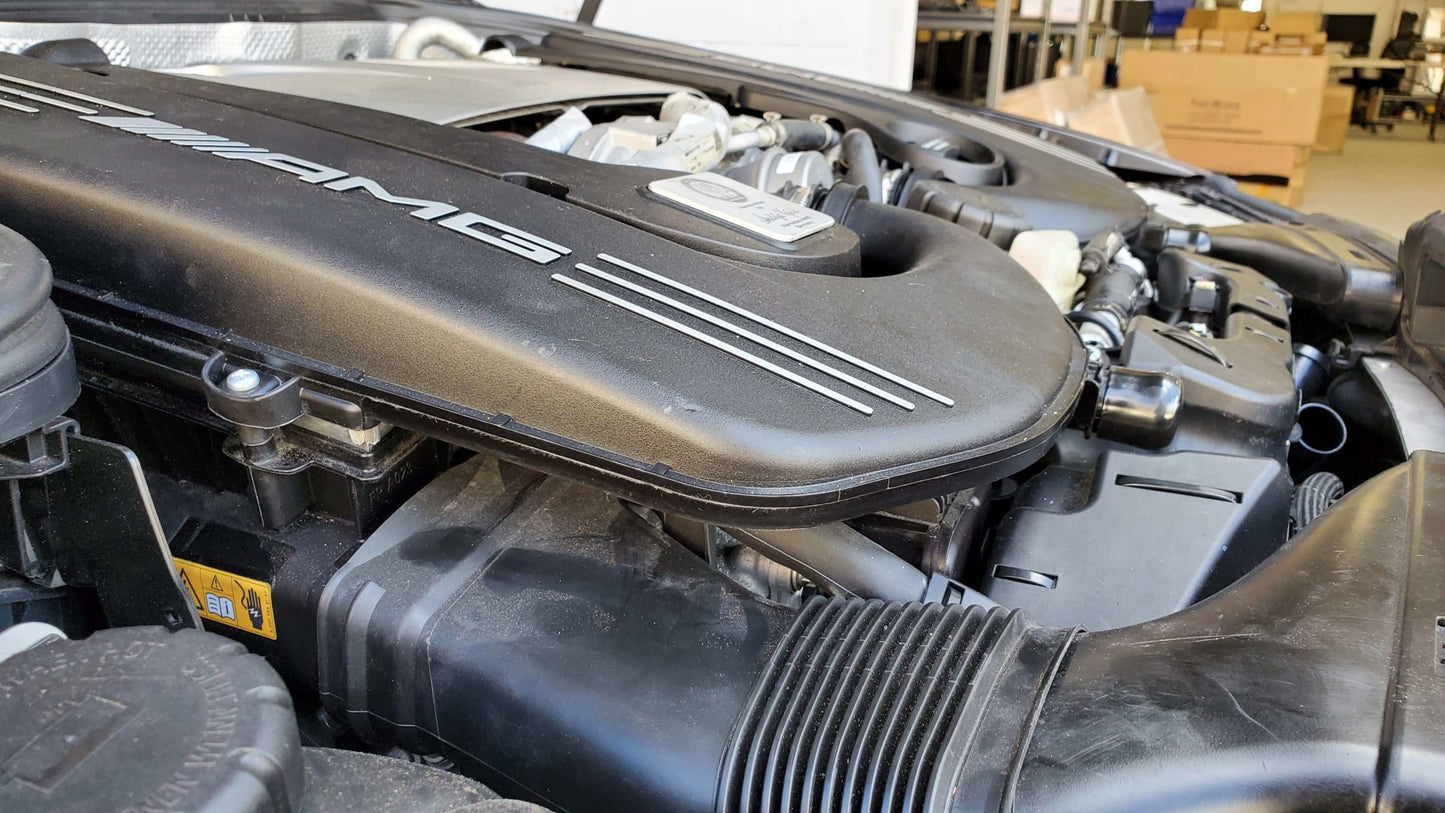
Factory M177 airboxes are efficient—but the low filter position and restrictive OEM paper elements limit airflow consistency. This complete intake system combines the M177 Intake Spacer Kit with BMC high-flow performance filters to improve breathing, response, and airflow efficiency while retaining a clean OEM appearance.
One system. One install. Noticeably better airflow.
Why This Intake System Works
- Raised Filter Position: Intake spacers lift the air filters to reduce restriction caused by the factory airbox geometry.
- High-Flow Filtration: BMC multi-layer cotton filters flow more air than OEM paper elements while maintaining excellent filtration.
- Balanced Airflow: Improves consistency across both banks for smoother throttle response and repeatable performance.
- OEM+ Design: Retains factory airboxes, engine covers, and noise levels.
Performance Expectations
This intake system is designed to improve airflow efficiency and throttle response, not chase exaggerated dyno numbers. Gains are modest on a stock vehicle but more noticeable on tuned M177 platforms.
- Sharper throttle response
- Improved mid–high RPM airflow consistency
- Better performance repeatability under heat
What’s Included
Intake Spacer Kit
- 4 interlocking CNC aluminum pieces per air filter housing
- Extra screws and rubber washers
- Uses factory mounting points
BMC Performance Filters
- 2 × BMC high-flow panel air filters
- Multi-layer oiled cotton media
- Washable & reusable
Vehicle Fitment – M177 4.0L BiTurbo
| Model | Platform | Years |
|---|---|---|
| C63 / C63 S AMG | W205 | 2015–2021 |
| GLC63 / GLC63 S AMG | X253 | 2018–2021 |
| G550 | W463 | 2015–2017 |
Installation
Around 20–30 minutes. Run through these steps once for each air filter housing.
| Tool Required | Torx T-25 driver |
| Spacer Pieces | 4 aluminum pieces per air filter housing |
| Hardware | Extra screws and rubber washers included |
- Lift the front engine cover off. Tug the sides to free the side clips, then lift the front to release the front clips. It pulls straight up off its rubber mounts.
- Release the duct and the sensor. Each air filter housing has a worm-gear clamp where the intake duct meets it, and a sensor connector. Loosen the clamp, work the duct off, then unclip the connector.
- Lift the housing out and turn it upside down. That exposes the factory Torx screws. Unscrew them with the T-25 driver.
- Slot the four aluminum pieces together. They interlock at the corners. Press each corner together until the frame sits square.
- Fit a rubber washer at every screw point. One per screw hole, linking both halves of the housing.
- Run the screws through. Each screw goes through the original housing screw hole, down through its washer, and out the other side.
- Tighten evenly. Work across the housing rather than round it, like wheel bolts. Snug is enough.
- Refit the housing. Drop it back into place, push the duct on and tighten its clamp, then click the sensor connector home. Give the connector a gentle tug to confirm it's latched.
- Refit the engine cover. Line it up and push down directly above each clip until it seats. Don't press in the middle and hope.
See this kit fitted — customer build on Instagram →
Ideal for daily-driven AMGs, track builds, and owners looking for stealth performance with OEM reliability.
Questions about fitment or tuning synergy? Email us for expert guidance.