BenzUnited Parts
M278 Intake Spacer Kit + aFe Magnum FLOW Pro 5R Filters (E550 / CLS550 / S550)
M278 Intake Spacer Kit + aFe Magnum FLOW Pro 5R Filters (E550 / CLS550 / S550)
Regular price
$325.00 USD
Regular price
Sale price
$325.00 USD
Unit price
per
Shipping calculated at checkout.
Couldn't load pickup availability
✅ Airbox Spacer (Left + Right)
Raises the filter sealing plane → smoother, higher-volume airflow into the MAF housing.
Raises the filter sealing plane → smoother, higher-volume airflow into the MAF housing.
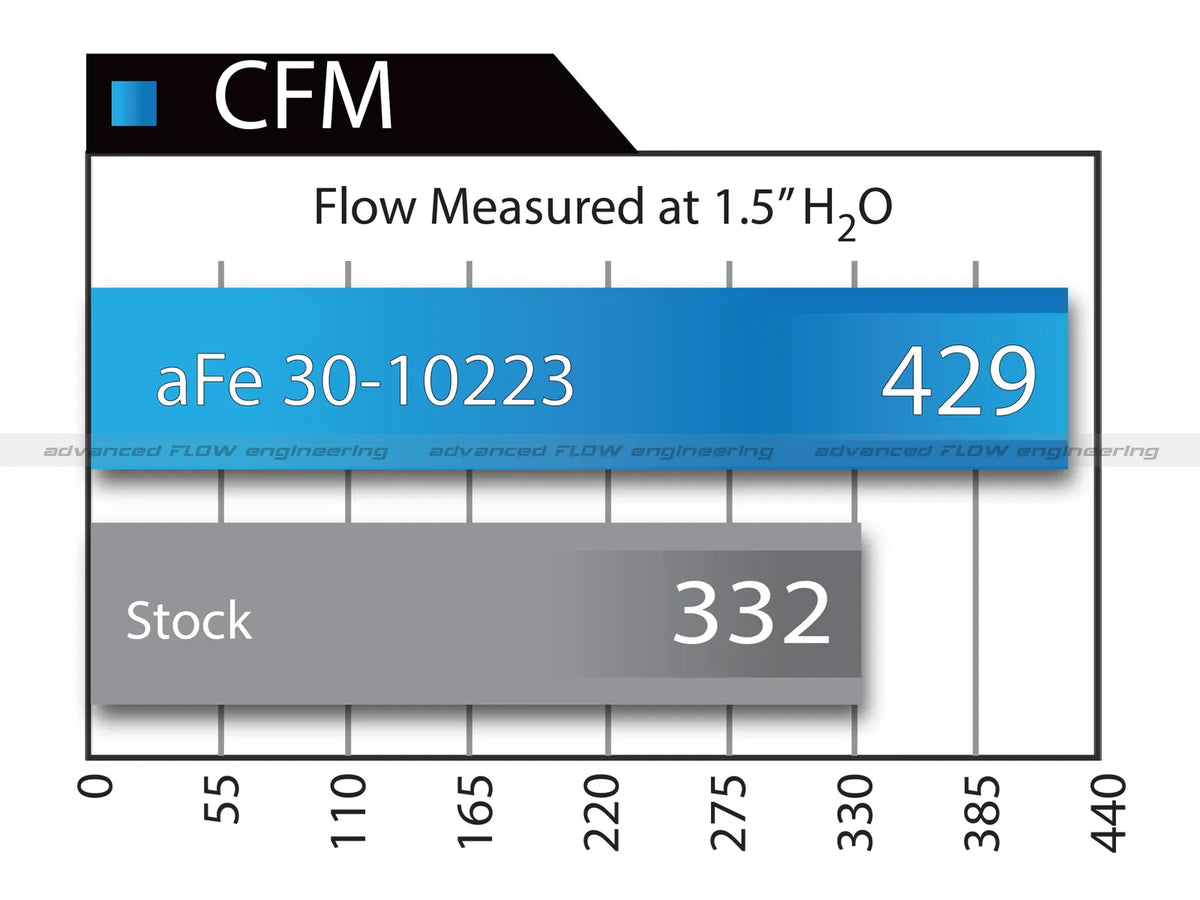
✅ aFe Magnum FLOW OE Replacement Air Filter w/ Pro 5R Media
Maximum-flow oiled cotton gauze (noticeably more airflow than Pro Dry S), reusable, perfect MAF compatibility.
Maximum-flow oiled cotton gauze (noticeably more airflow than Pro Dry S), reusable, perfect MAF compatibility.
✅ Factory Airbox Stays 100% Stock
Keeps perfect cold-air routing and heat shields — no heat-soak like open intakes.
Keeps perfect cold-air routing and heat shields — no heat-soak like open intakes.
What Owners Notice
- Even crisper throttle tip-in and stronger mid-range pull
- Maximum power consistency on hot days and repeated pulls
- Zero check-engine lights • No ECU retune required
What You Get
- ✔ 2× Precision CNC-machined airbox spacers (left + right), 4 interlocking pieces each
- ✔ 2× aFe Magnum FLOW OE Replacement Air Filters w/ Pro 5R Media
- ✔ Extra screws and rubber washers
Fits These M278 4.7L BiTurbo Models
| Model | Chassis | Years |
|---|---|---|
| E 550 • CLS 550 | W212 / C218 | 2012–2016 |
| S 550 | W222 • W221 | 2014–2017 (W222) / 2012–2013 (W221) |
| GL 450 | X166 | 2013–2014 |
| GL 550 | X166 | 2013–2016 |
| GLS 550 | X166 | 2017–2019 |
| ML 550 | W166 | 2012–2014 |
Installation
Around 20–30 minutes. Run through these steps once for each air filter housing.
| Tool Required | Torx T-25 driver |
| Spacer Pieces | 4 aluminum pieces per air filter housing |
| Hardware | Extra screws and rubber washers included |
- Lift the front engine cover off. Tug the sides to free the side clips, then lift the front to release the front clips. It pulls straight up off its rubber mounts.
- Release the duct and the sensor. Each air filter housing has a worm-gear clamp where the intake duct meets it, and a sensor connector. Loosen the clamp, work the duct off, then unclip the connector.
- Lift the housing out and turn it upside down. That exposes the factory Torx screws. Unscrew them with the T-25 driver.
- Slot the four aluminum pieces together. They interlock at the corners. Press each corner together until the frame sits square.
- Fit a rubber washer at every screw point. One per screw hole, linking both halves of the housing.
- Run the screws through. Each screw goes through the original housing screw hole, down through its washer, and out the other side.
- Tighten evenly. Work across the housing rather than round it, like wheel bolts. Snug is enough.
- Refit the housing. Drop it back into place, push the duct on and tighten its clamp, then click the sensor connector home. Give the connector a gentle tug to confirm it's latched.
- Refit the engine cover. Line it up and push down directly above each clip until it seats. Don't press in the middle and hope.
See this kit fitted — customer build on Instagram →
BenzUnited Parts • Mercedes Performance Specialists